Peanut Butter Protein Cookies
Peanut butter cookies are a classic and for good reason.
While I don’t love the flavor of a peanut by itself, there’s just something about peanut butter that is almost addicting to me. Perhaps, it’s because of the nostalgia of growing up on peanut butter sandwiches, perhaps it’s the creamy texture, or perhaps it’s the fact it’s just plain delicious!
All of this last week I found myself craving peanut butter and peanut butter jelly sandwiches. (A low carb version, of course.) So, as I was contemplating which cookie recipe to start experimenting with next, peanut butter won.
While I do love my peanut butter bar recipe, I wanted to develop a classic, low carb peanut butter protein cookie recipe. The goal was for it to have a soft texture, a solid peanut butter flavor, and of course, be an avenue for more protein.
I had tried this before and was disappointed with the texture, but since my last try, I had learned a lot and developed a better base cookie recipe. This time I had more confidence in the results of the finished product. I mixed the initial formula up, then did a little additional tweaking until it had a texture I was satisfied with.
After that, I rolled the dough into balls, placed them on my baking sheet, flattened each cookie slightly, and waited patiently for them to bake. All was going well until the smell of peanut butter wafted through the house. As I smelled the scent of the baking cookies, time immediately began ticking slowly, making that ten minutes feel a whole lot longer than it was.
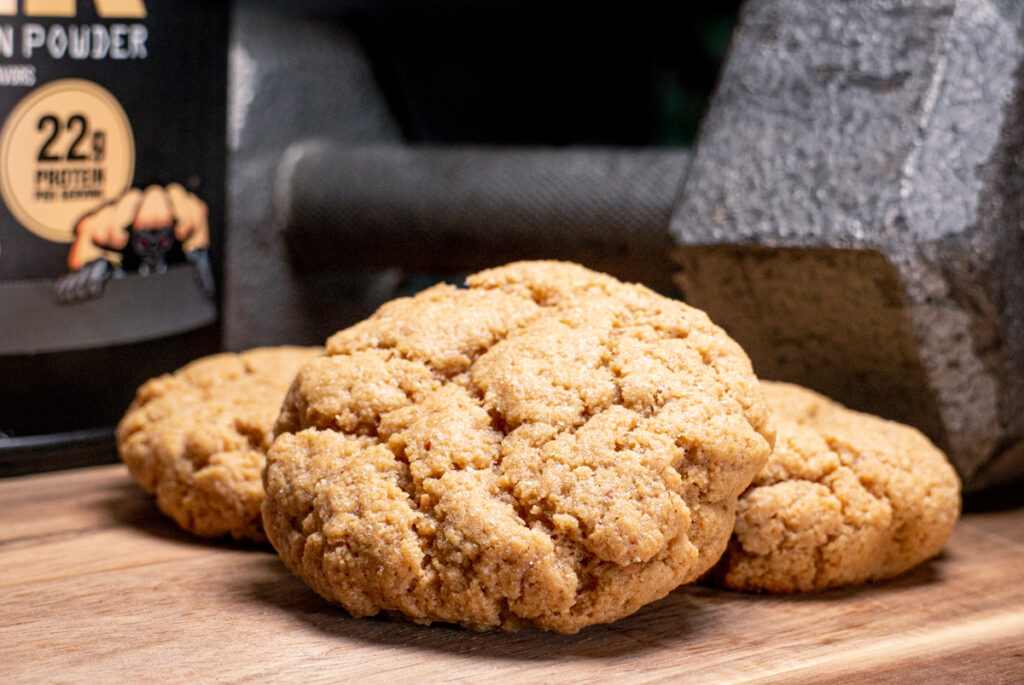
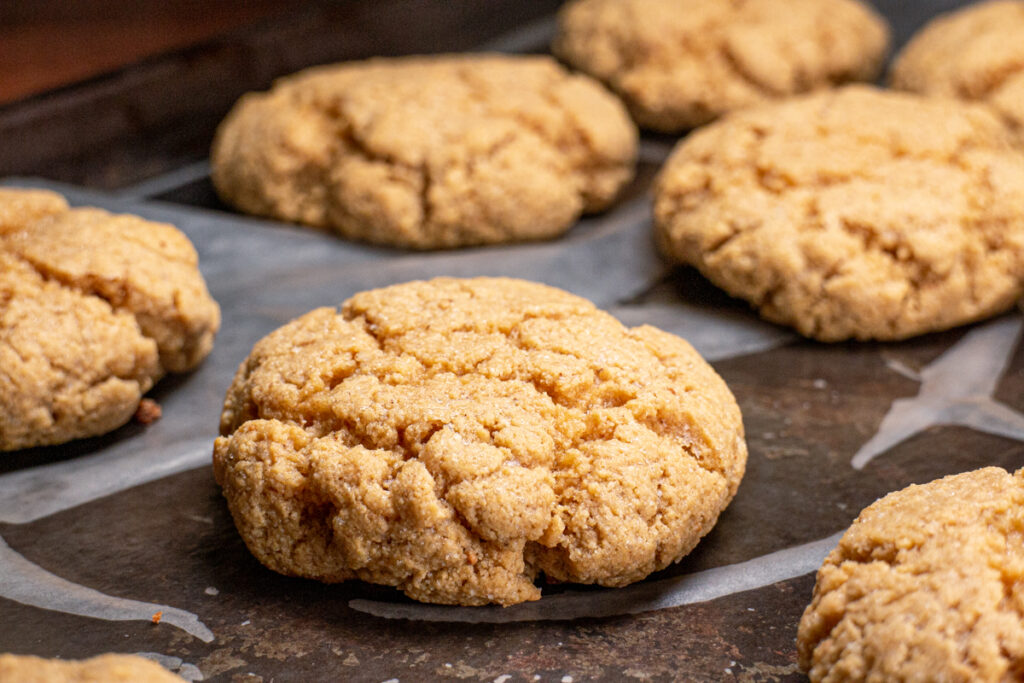
When the timer beeped I checked on the cookies and was satisfied with how they looked. They had begun to crack, and the edges had set up. I pulled them out of the oven, and fought the urge to devour a cookie right then and there. However, the sweetener I had used tends to lose some of its flavor when warm. Because of this, I knew the cookies would taste their best cooled, so I waited patiently. Finally, after a long time of waiting, it was time for the moment of truth. I removed a cookie from the pan, and bit into it.
It was everything I had hoped it would be….
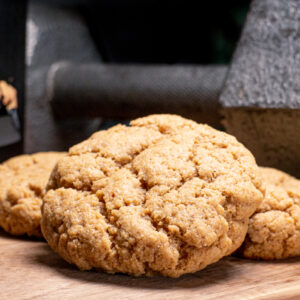
It had the perfect balance of sweetness and was packed full of peanut butter flavor. The texture was soft and chewy, a texture I have struggled to perfect in low carb cookies.
There was no doubt about it, this recipe was a definite winner in my book.
Ingredient List
1/2 Cup Unsweetened Peanut Butter
3/4 Cup Gold Monk Fruit Blend (Or your favorite brown sugar substitute)
2 Large Eggs
1/2 Teaspoon Baking Soda
1/4 Teaspoon Salt
1 1/2 Teaspoons Vanilla Extract
1/4 Cup Butter (melted)
2/3 Cup Vanilla Mölk
1 1/3 Cup Almond Flour
How to Make Peanut Butter Protein Cookies
Begin by preheating the oven to 350° Fahrenheit, and line a baking sheet with parchment paper.
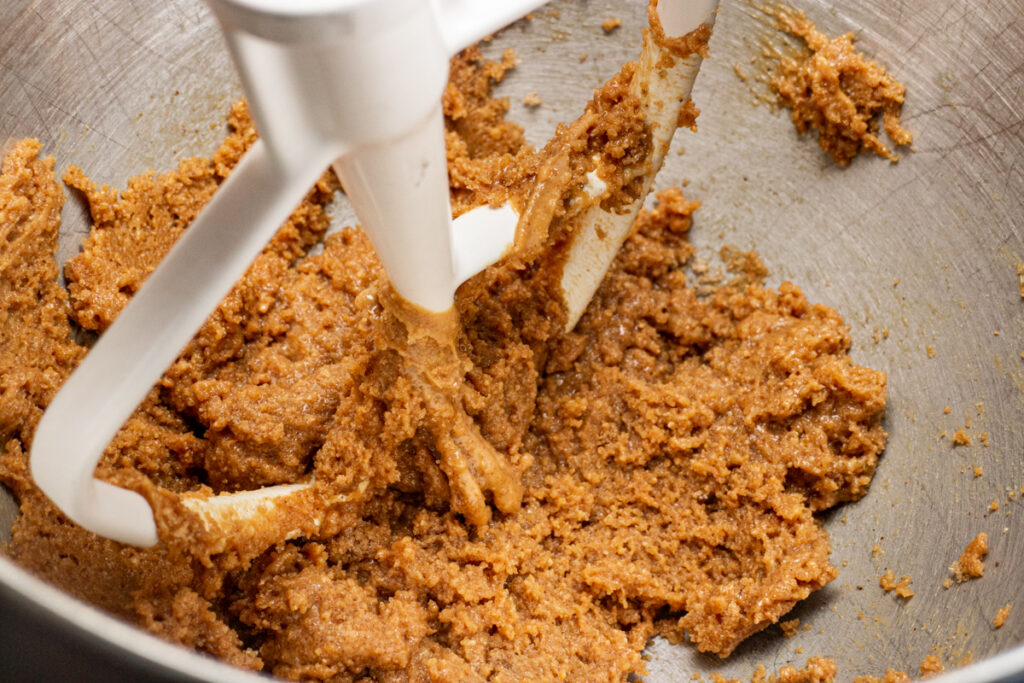
Next, cream together the peanut butter and sweetener with either a hand mixer or a stand mixer.
Personally, I highly recommend you use your stand mixer if you have one. Anytime I make cookies, I always break out my KitchenAid as it creams the butter wonderfully, and is an absolute game changer!
(Fun fact – The mixer I use was my grandmother’s Kitchenaid and it’s still going strong!)
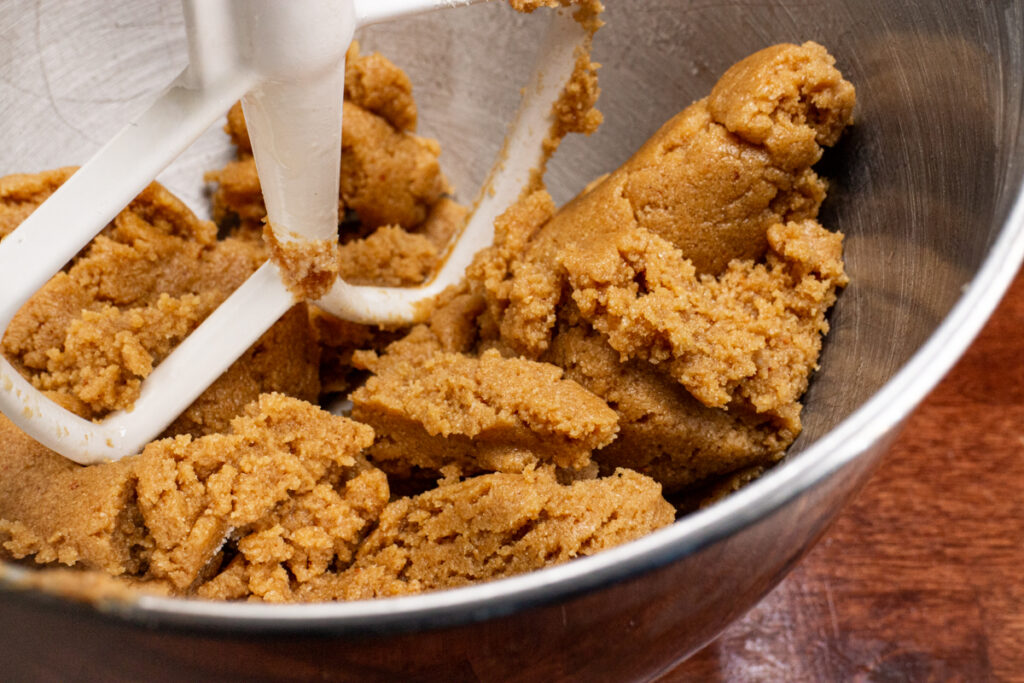
Once you have a smooth creamy mixture, add the eggs one at a time and mix again until evenly incorporated.
Next, add the baking soda, salt, vanilla, melted butter, and protein powder. Mix again on low speed then slowly add the almond flour.
Scrape the sides of the bowl to ensure everything is mixed evenly and mix again.
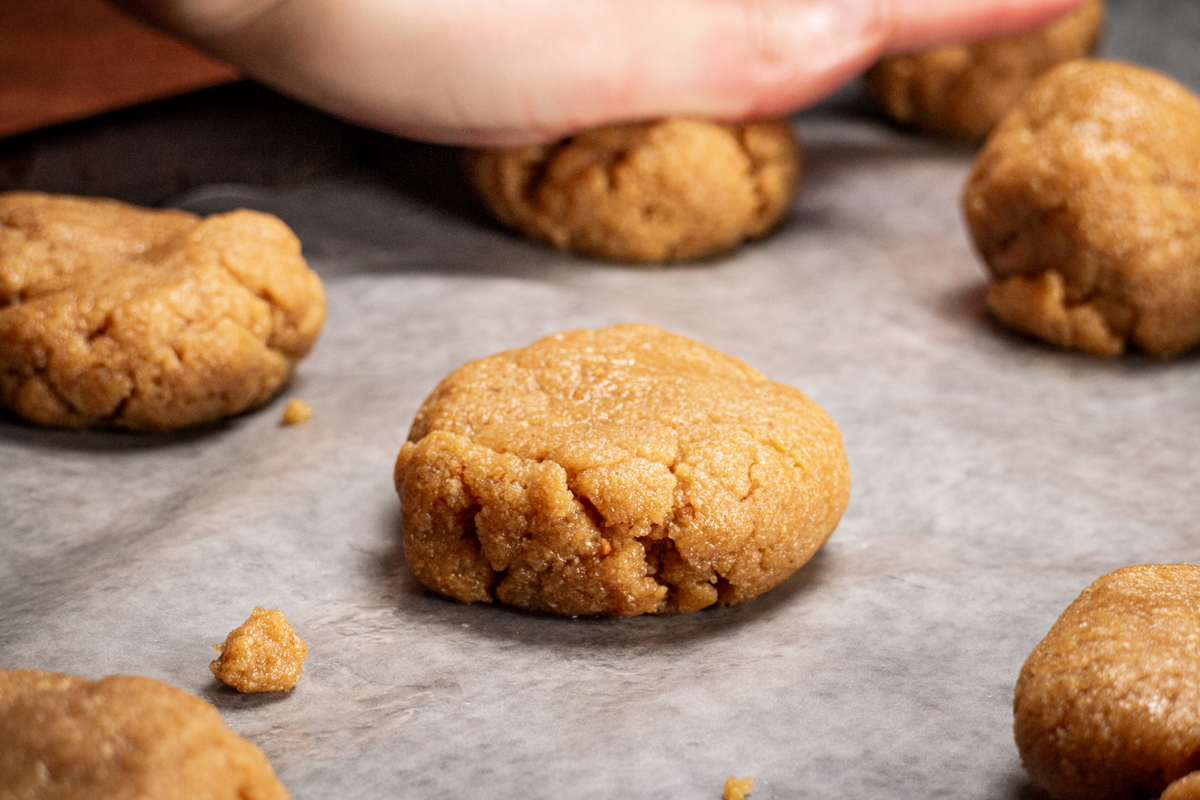
After you have mixed the dough, roll the dough into approximately two-inch balls and place them on the prepared baking sheet. Leave about 1 1/2 – 2 inches between each cookie.
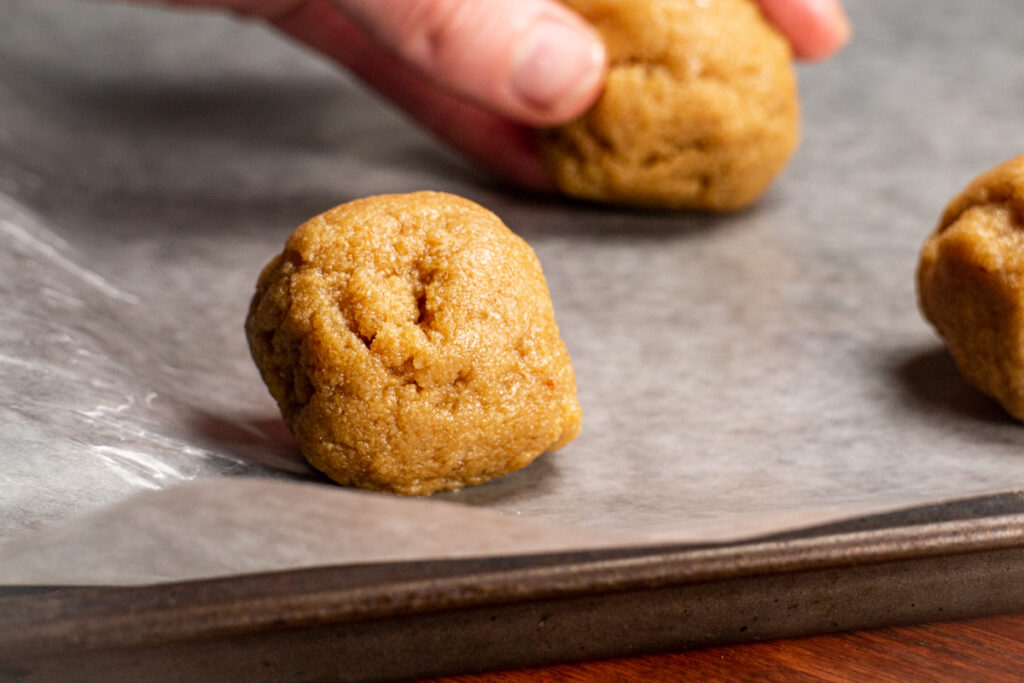
Press each ball gently with the palm of your hand flattening them until they are about 3/4 of an inch thick.
Bake for 10-12 minutes or until the cookies have begun to crack and the edges have set.
I have found these cookies are better under-baked rather than over-baked. So, if they have cracked and aren’t browning go ahead and pull them out! I think you will be happy with the results!
After you have baked your cookies, let them cool completely before indulging.
If you try these warm, you may not be satisfied with the results! The sweetener used in this recipe loses some of its sweetness when warm. This of course has a large effect on the flavor of the cookie! Let the cookie cool to room temperature or eat it cold and you will find the flavor much better, and it might even be described as perfect!

Peanut Butter Protein Cookies
Ingredients
- 1/2 Cup Unsweetened Peanut Butter
- 3/4 Cup Gold Monkfruit Blend (or your favorite brown sugar substitute)
- 2 Large Eggs
- 1/2 Teaspoon Baking Soda
- 1/4 Teaspoon Salt
- 1 1/2 Teaspoons Vanilla Extract
- 1/4 Cup Butter (melted)
- 2 /3 Cup Vanilla Protein Powder
- 1 1/3 Cups Almond Flour
Instructions
- Begin by preheating the oven to 350° Fahrenheit, and line a baking sheet with parchment paper.
- Next, cream together the peanut butter and sweetener with either a hand mixer or a stand mixer.
- Once you have a smooth creamy mixture, add the eggs one at a time and mix again until evenly incorporated.
- Next, add the baking soda, salt, vanilla, melted butter, and protein powder. Mix again on low speed then slowly add the almond flour. Scrape the sides of the bowl to ensure everything is mixed evenly and mix again.
- Roll the dough into approximately two-inch balls and place them on the prepared baking sheet. Leave about 1 1/2 - 2 inches between each cookie. After you have placed the cookies on the sheet, press each ball gently with the palm of your hand flattening them until they are about 3/4 of an inch thick.
- Bake for 10-12 minutes or until the cookies have begun to crack and the edges have set.I have found these cookies are better under-baked rather than over-baked. So, if they have cracked and aren’t browning go ahead and pull them out! I think you will be happy with the results!
- After you have baked your cookies, let them cool completely before indulging! Enjoy!
If you liked this recipe and would like to help support Rocky Mountain Baking, use the links in the above recipe or our other recipes to make your purchases. As an affiliate marketer, we receive compensation for any purchases made through these links, and these purchases will help us to keep our content free for all.